
Here is one easy, step by step tutorial for gumpaste digger.
I actually had to search for names of digger's (or backhoe loader's, don't know the difference) parts, the only name I knew was "that thing" :)
Prepare yellow, grey, black and orange gumpaste.
First, make the body of a digger


Then, do the wheels. I usually make them all black and than add gray/silver, but when I started making them I realized that I have just a bit of black. So, I tried this way and it worked :)


...and back


Glue the wheels.

Make the arms of digger. For front...


... and back.


And then glue everything together.


 |
| This tool can be find at my shop MakeACakeSupplies |


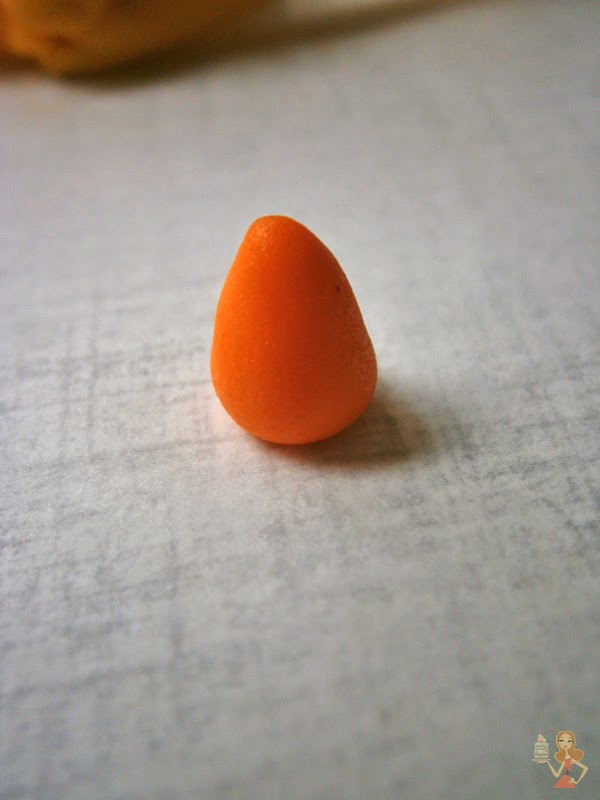
Make lights...


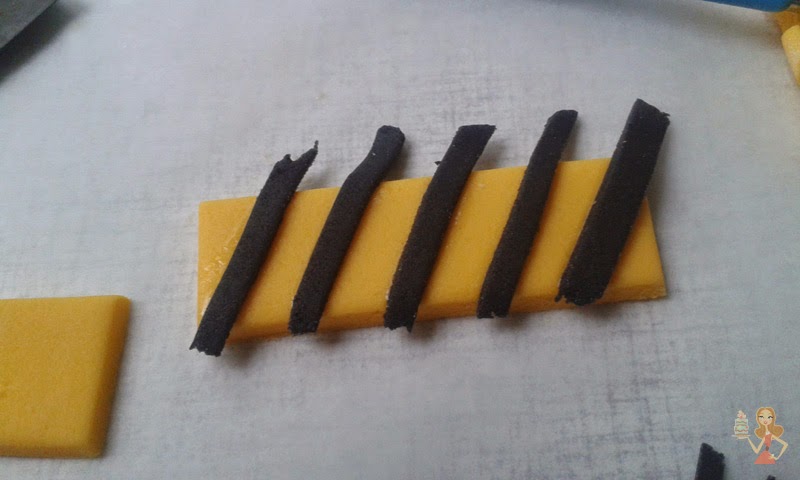
and signs


Now, all you have to do is to put everything on the cake. Mine was decorated with whipped cream, so I
added some colorful sugar sprinkles and some grass...

You can digg a hole in the cake.


Add all details.


Looks Great! How do you make the base pieces ie rectangular blocks so nice n symmetrical? Mine flops or gets out of shape easily..Thanks!
ReplyDeleteThanks!
ReplyDeleteThe pieces are shaped by hand, just do it 'till you're satisfied. Then leave them horizontaly to dry before you put them together, so they don't loose the shape.
Mybe your fondant is too soft, try different brand, or mix it with gumpaste... Maybe the humidity is too high. But it should be allright if you leave the pieces to dry before assembling.
Amaizing!!! Great tutorial. Thanks ;)
ReplyDelete