I recently posted few of my Mickey and Minnie cakes made for family and friends. I just had to emphasize that those were not made for sale, and never will be because of the copyright laws.
If you want to make them for your kids and friends here is a short tutorial for this Mickey in plane cake topper.
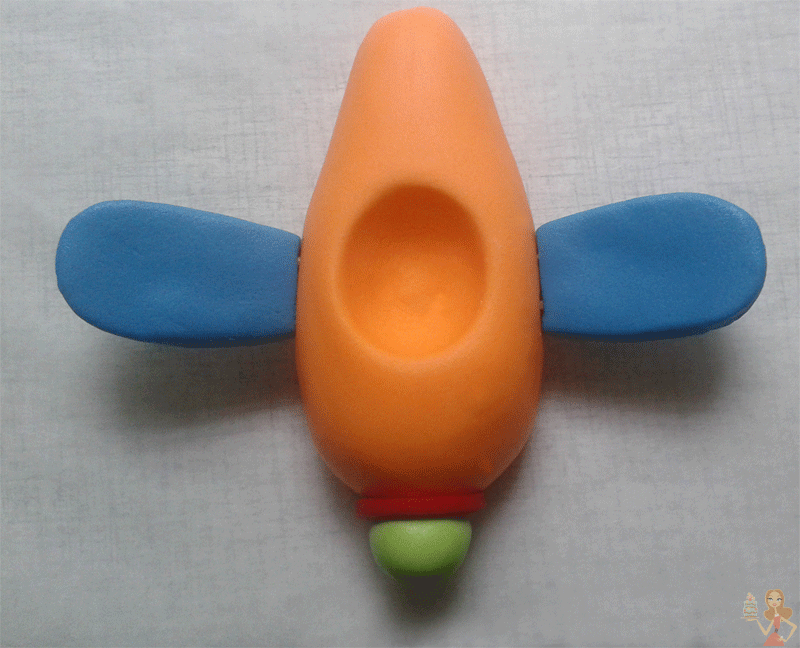
Start with the plane. Use any colour you want, I've decided to use orange for the body of the plane.
Use ball tool to make the hole for the seat.
 | |
| You can find this tool at MakeACakeSupplies |
Draw wings on piece of paper and transfer it on gumpaste. Cut two of them.
Thrust toothpicks into the wings and let them dry.
Make parts of the plane's tail.
Make the nose of the plane
and leave everything to dry.
Once dried attach them on the plane.
Add some stripes, stars or other details.
Add propeller.
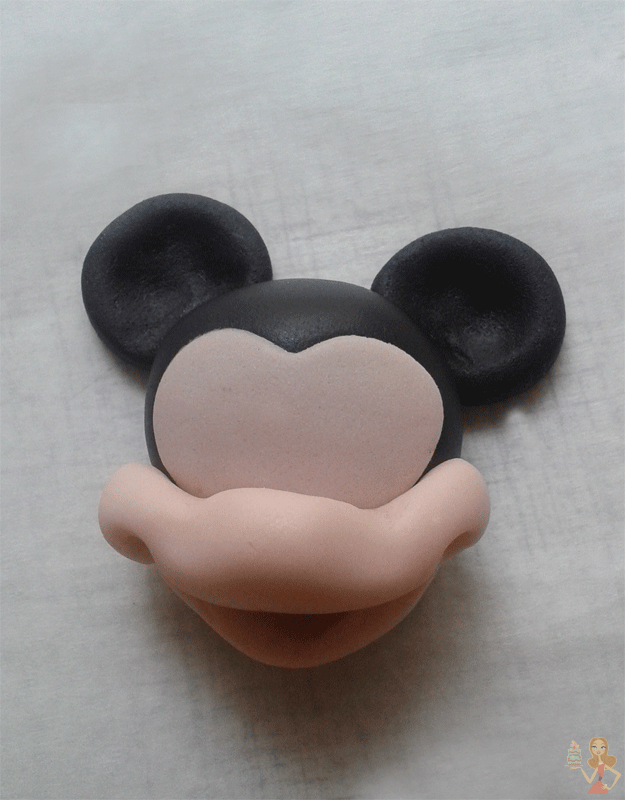
For Mickey's head make one black ball and press it slightly.
Cut out two black circles for ears.
Glue them on the head,
and press them using ball tool.
For face, cut our heart using skin toned gumpaste. Cut off the top, and glue it on head.
Now, there are two ways for making Mickey's muzzle. I'll show you both of them.
First, make a sausage of the skin toned gumpaste. Press it on the edges with your finger tips.
Glue it on the face,
and using this fondant tool make mouth.
Using ball tool, or something similar, open the mouth.
The other way for making muzzle is this.
Ad one thin sausage on the bottom, for lower jaw.
Make other sausage and press it to get shape similar to this.
Glue it and using your fingers and some tools shape it to upper jaw, nose, cheeks and mouth.
Add tongue,
eyes and nose.
If you want to make Minnie Mouse, add eyelashes and bow.
Make Mickey's body. This will be enough, 'cause he's sitting in the plane and there's no need to make pants and legs.
Make hands.
Using wooden stick, attach body on the plane, add arms and hands.
Make clouds, Mickey heads, stars and dots for this cute and colorful cake for toddlers!


No comments:
Post a Comment